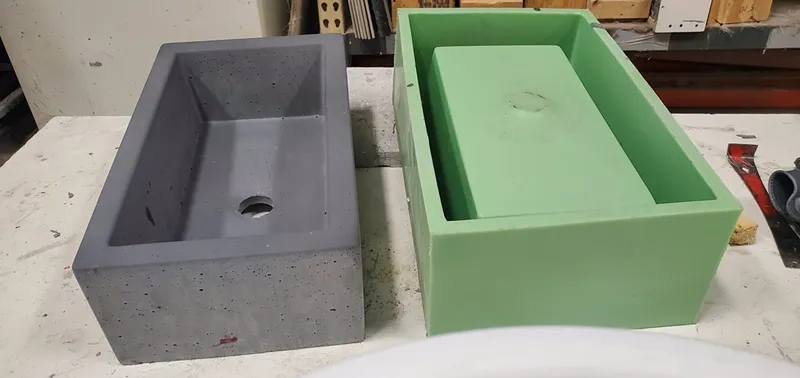
Polyurethane molding has become a popular choice for homeowners and professionals alike due to its lightweight nature, durability, and aesthetic appeal. Installing polyurethane molding can be a straightforward process, but it requires attention to detail and the right tools. Here’s a step-by-step guide to help you navigate the installation process.
1. Preparing for Installation
Before you begin, it’s essential to gather all the necessary tools and materials. You’ll need:
Polyurethane molding
A miter saw or hand saw
Premium polyurethane construction adhesive
Pneumatic pin nailer or finishing nails
Measuring tape
Pencil or marker
Caulk or filler (for gaps)
2. Measuring and Cutting
Start by measuring the area where you’ll be installing the molding. Use a pencil or marker to mark the measurements on the molding. When cutting, ensure that you position the molding correctly in the saw. For inside corners, you might need to cope the molding to achieve a seamless fit.
3. Applying Adhesive
Apply a continuous ¼” bead of premium polyurethane construction adhesive along the back edges of the molding. This adhesive ensures a firm bond between the molding and the surface, reducing the risk of gaps or separation over time.

4. Nailing the Molding
While the adhesive provides a secure hold, nailing the molding further ensures it stays in place. Use a pneumatic pin nailer or finishing nails to secure the molding to the wall or ceiling. For larger moldings, reinforce with nails every 16 inches. For smaller moldings, a spacing of 24 inches is sufficient.
5. Filling Gaps
After installation, inspect the molding for any gaps or imperfections. Use a suitable caulk or filler to fill these gaps, ensuring a seamless finish. This step enhances the overall appearance and ensures the molding looks professionally installed.
6. Finishing Touches
Once the molding is securely in place, you can paint or finish it as desired. Polyurethane molding can be painted with both water-based and oil-based paints. Ensure the paint is compatible with polyurethane before application.
Conclusion
Installing polyurethane molding can transform the look of any room, adding elegance and charm. While the process is straightforward, attention to detail is crucial to achieve a professional finish. With the right tools and techniques, you can successfully install polyurethane molding in your home or commercial space.


